Street Wheelie Brasil Jobs, Money, and Progression
Turn street jobs into unlocks—fund the right bikes and parts without going broke on impulse cosmetics.
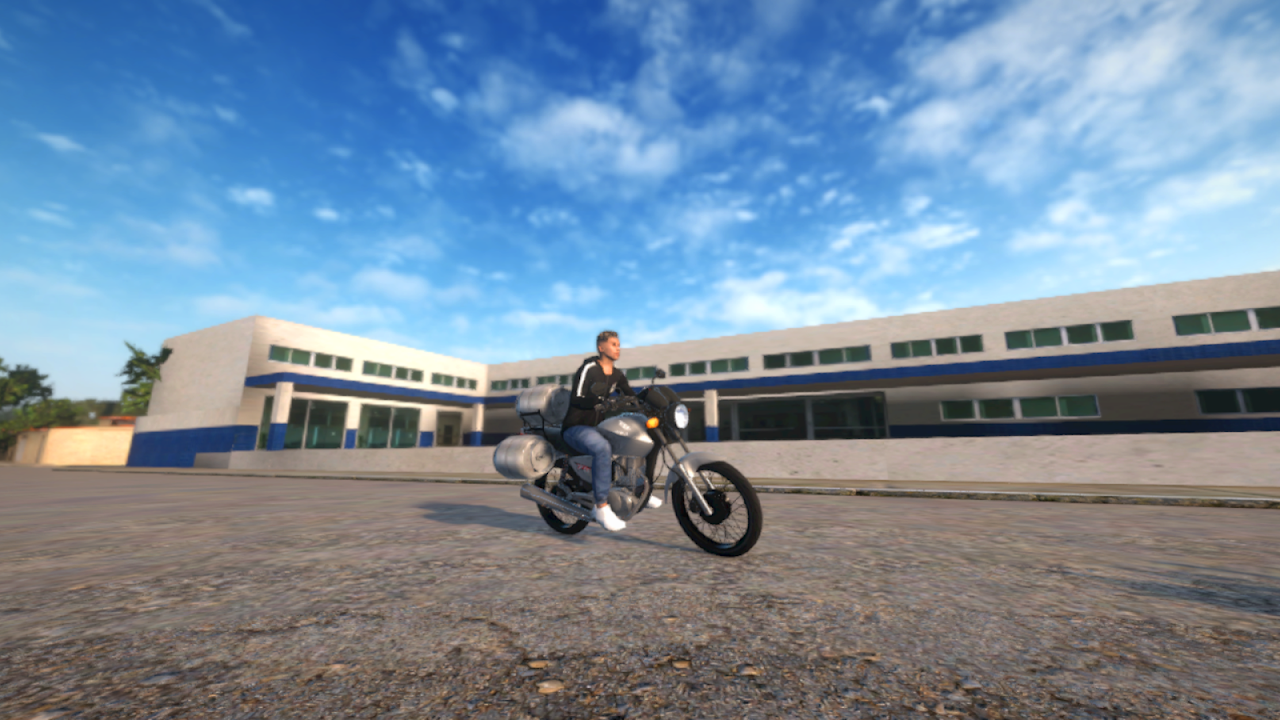
Jobs and money are the progression spine of Street Wheelie Brasil. Villa Games Group frames the fantasy clearly: take on jobs, earn cash, and unlock new possibilities while you chase grau through a Brazilian-inspired open world. This guide explains how to think about the earning loop, what to buy first, how to avoid cosmetic bankruptcy, and how jobs connect to skill practice—not only to shopping.
If you just installed the game, finish Getting Started so account linking and day-one controls are handled. Keep the Codes Hub open in a browser tab whenever you play a money session; free currency stacks with honest job pay. For spend targets, trust the Tier List Hub more than impulse thumb taps in the shop.
How the earning loop should feel
A healthy session looks like a cycle:
- Pick a job that matches your current bike and skill. Early on, reliable completion beats flashy high-risk tasks you fail halfway.
- Ride with intention. Use the route as free practice for throttle discipline from How to Wheelie when the job allows safe stretches.
- Collect pay and bank a surplus. Do not auto-spend the entire payout in the garage door animation high.
- Buy one planned unlock — performance milestone, quality-of-life part, or a budget visual—then return to work.
- Repeat until the next tier bike or system unlock makes sense.
Jobs exist to convert time into options. If a job type consistently tilts your mood or empties your repair budget, rotate to steadier work until your riding stabilizes.
Progression unlocks: order of operations
Think in pillars, not random wishlist chaos:
- Control comfort first. If a cheap unlock makes inputs clearer or the bike more predictable, it pays for itself in fewer crashes. See Controls if the real issue is settings, not parts.
- Bike platform second. A better base machine can outclass a pile of cosmetics on a starter mule. Consult the Tier List Hub before you marry a dead-end platform.
- Performance parts third. Torque, response, and stability parts should follow skill. Installing race power before you can hold a sweet spot increases flip rate and job failures.
- Identity fourth. Paint, exhaust ronco, and flex pieces from Customization are core to the fantasy—fund them with surplus, not rent money.
- Online-ready polish last. Once you can complete jobs cleanly, invest in the look you want to present in Online Multiplayer lobbies.
This order keeps progression feeling forward. Skipping ahead into pure flex often forces grinding underpowered or unstable setups because the bank is empty.
Smart spending rules
Rule of thirds (flexible): after a payday, mentally split cash into save / upgrade / fun. The save pile exists for the next tier bike. The upgrade pile is planned parts. The fun pile is cosmetics you will not regret tomorrow.
One big change per day: stack purchases and you will not know which part ruined your grau. Change, test on a flat road, then job again.
Codes before carts: redeem anything active on the Codes Hub prior to premium spends so you do not duplicate purchases you could have covered with gifts.
Ignore sunk cost: if a bike is a dead end on the tier list, stop pouring paint into it. Park it as a showpiece and move progression to the recommended platform.
Account for failure: crashes and retries cost time. Sometimes the “expensive” stable bike finishes jobs faster than the cheap unstable one.
Using jobs as training, not only income
The best money players double-dip:
- Straight delivery-like routes → pulse throttle and set-down practice.
- Light traffic routes → micro-steering while balanced.
- Night or denser avenues → visibility and camera comfort checks from Controls.
When you fail a job, write down why in three words (flip, wrong turn, lag). Patterns tell you whether to practice, retune settings, or change bike—not only “grind more.”
Mid-game money goals
By the time the starter loop feels easy, you should have: a linked account (Getting Started), a control scheme you trust, a primary earner bike endorsed by the Tier List Hub, a small cosmetic identity from Customization, and a cash buffer equal to at least one meaningful unlock. That buffer prevents panic selling of your future for a sticker pack.
Watch Updates after patches—job payouts, prices, and bike balance can shift the optimal grind. This wiki is unofficial; verify economy changes against live patch notes from Villa Games Group when numbers feel off.
Example first-week money plan
- Days 1–2: Complete reliable jobs only; buy nothing beyond a tiny comfort tweak; claim codes.
- Days 3–4: Save toward the first tier-list-approved upgrade; practice grau between jobs.
- Days 5–6: Purchase the upgrade; re-learn sweet spot; resume jobs at higher efficiency.
- Day 7: Spend a capped fun budget on identity; keep the save pile untouched.
Follow that rhythm and Street Wheelie Brasil’s job system stops feeling like a treadmill. It becomes a funding engine for the bike you actually want to ride—stable enough for grau, loud enough for the street, and solvent enough for the next unlock.
Frequently Asked Questions
Quick answers for Street Wheelie Brasil players.
What should I buy with my first paychecks?
Prioritize comfort and a tier-list-approved progression step. Delay heavy cosmetics until you have a cash buffer.
Do codes replace jobs?
No. Codes are boosts. Check the Codes Hub, then keep running jobs for sustainable income.
Why am I always broke after customizing?
You are spending the save pile on flex. Use a split budget and finish Customization goals with surplus only.
Should I grind on an unstable bike if it looks cool?
Usually no. Job failures cost more than the flex is worth. Switch to a stable earner, then style it.
How do jobs help my wheelie skill?
Treat quiet route segments as practice reps—pulse throttle, hold, set down—while still earning cash.